AC window installation can be trickier than you think! There are certain steps you should take to ensure the AC is properly secure.
Make sure to read through each step before starting the AC window installation process.
Before you get started, make sure you have everything you need:
- Window-unit air conditioner
- Manufacturer’s instruction manual
- Grounded, three-prong outlet (no extension cords, no adapters)
- A secure leveling object
- Power drill
- Screwdriver
- Foam seal
- Last but not least, a helping hand
Step 1: Assemble Your Unit
Following the manufacturer instructions, securely screw the top rail onto the top of your air conditioner. Most residential units are made with accordion-like panels that help to keep bugs out. Slide the accordion-like panel into a track or slot on either side of the AC unit.
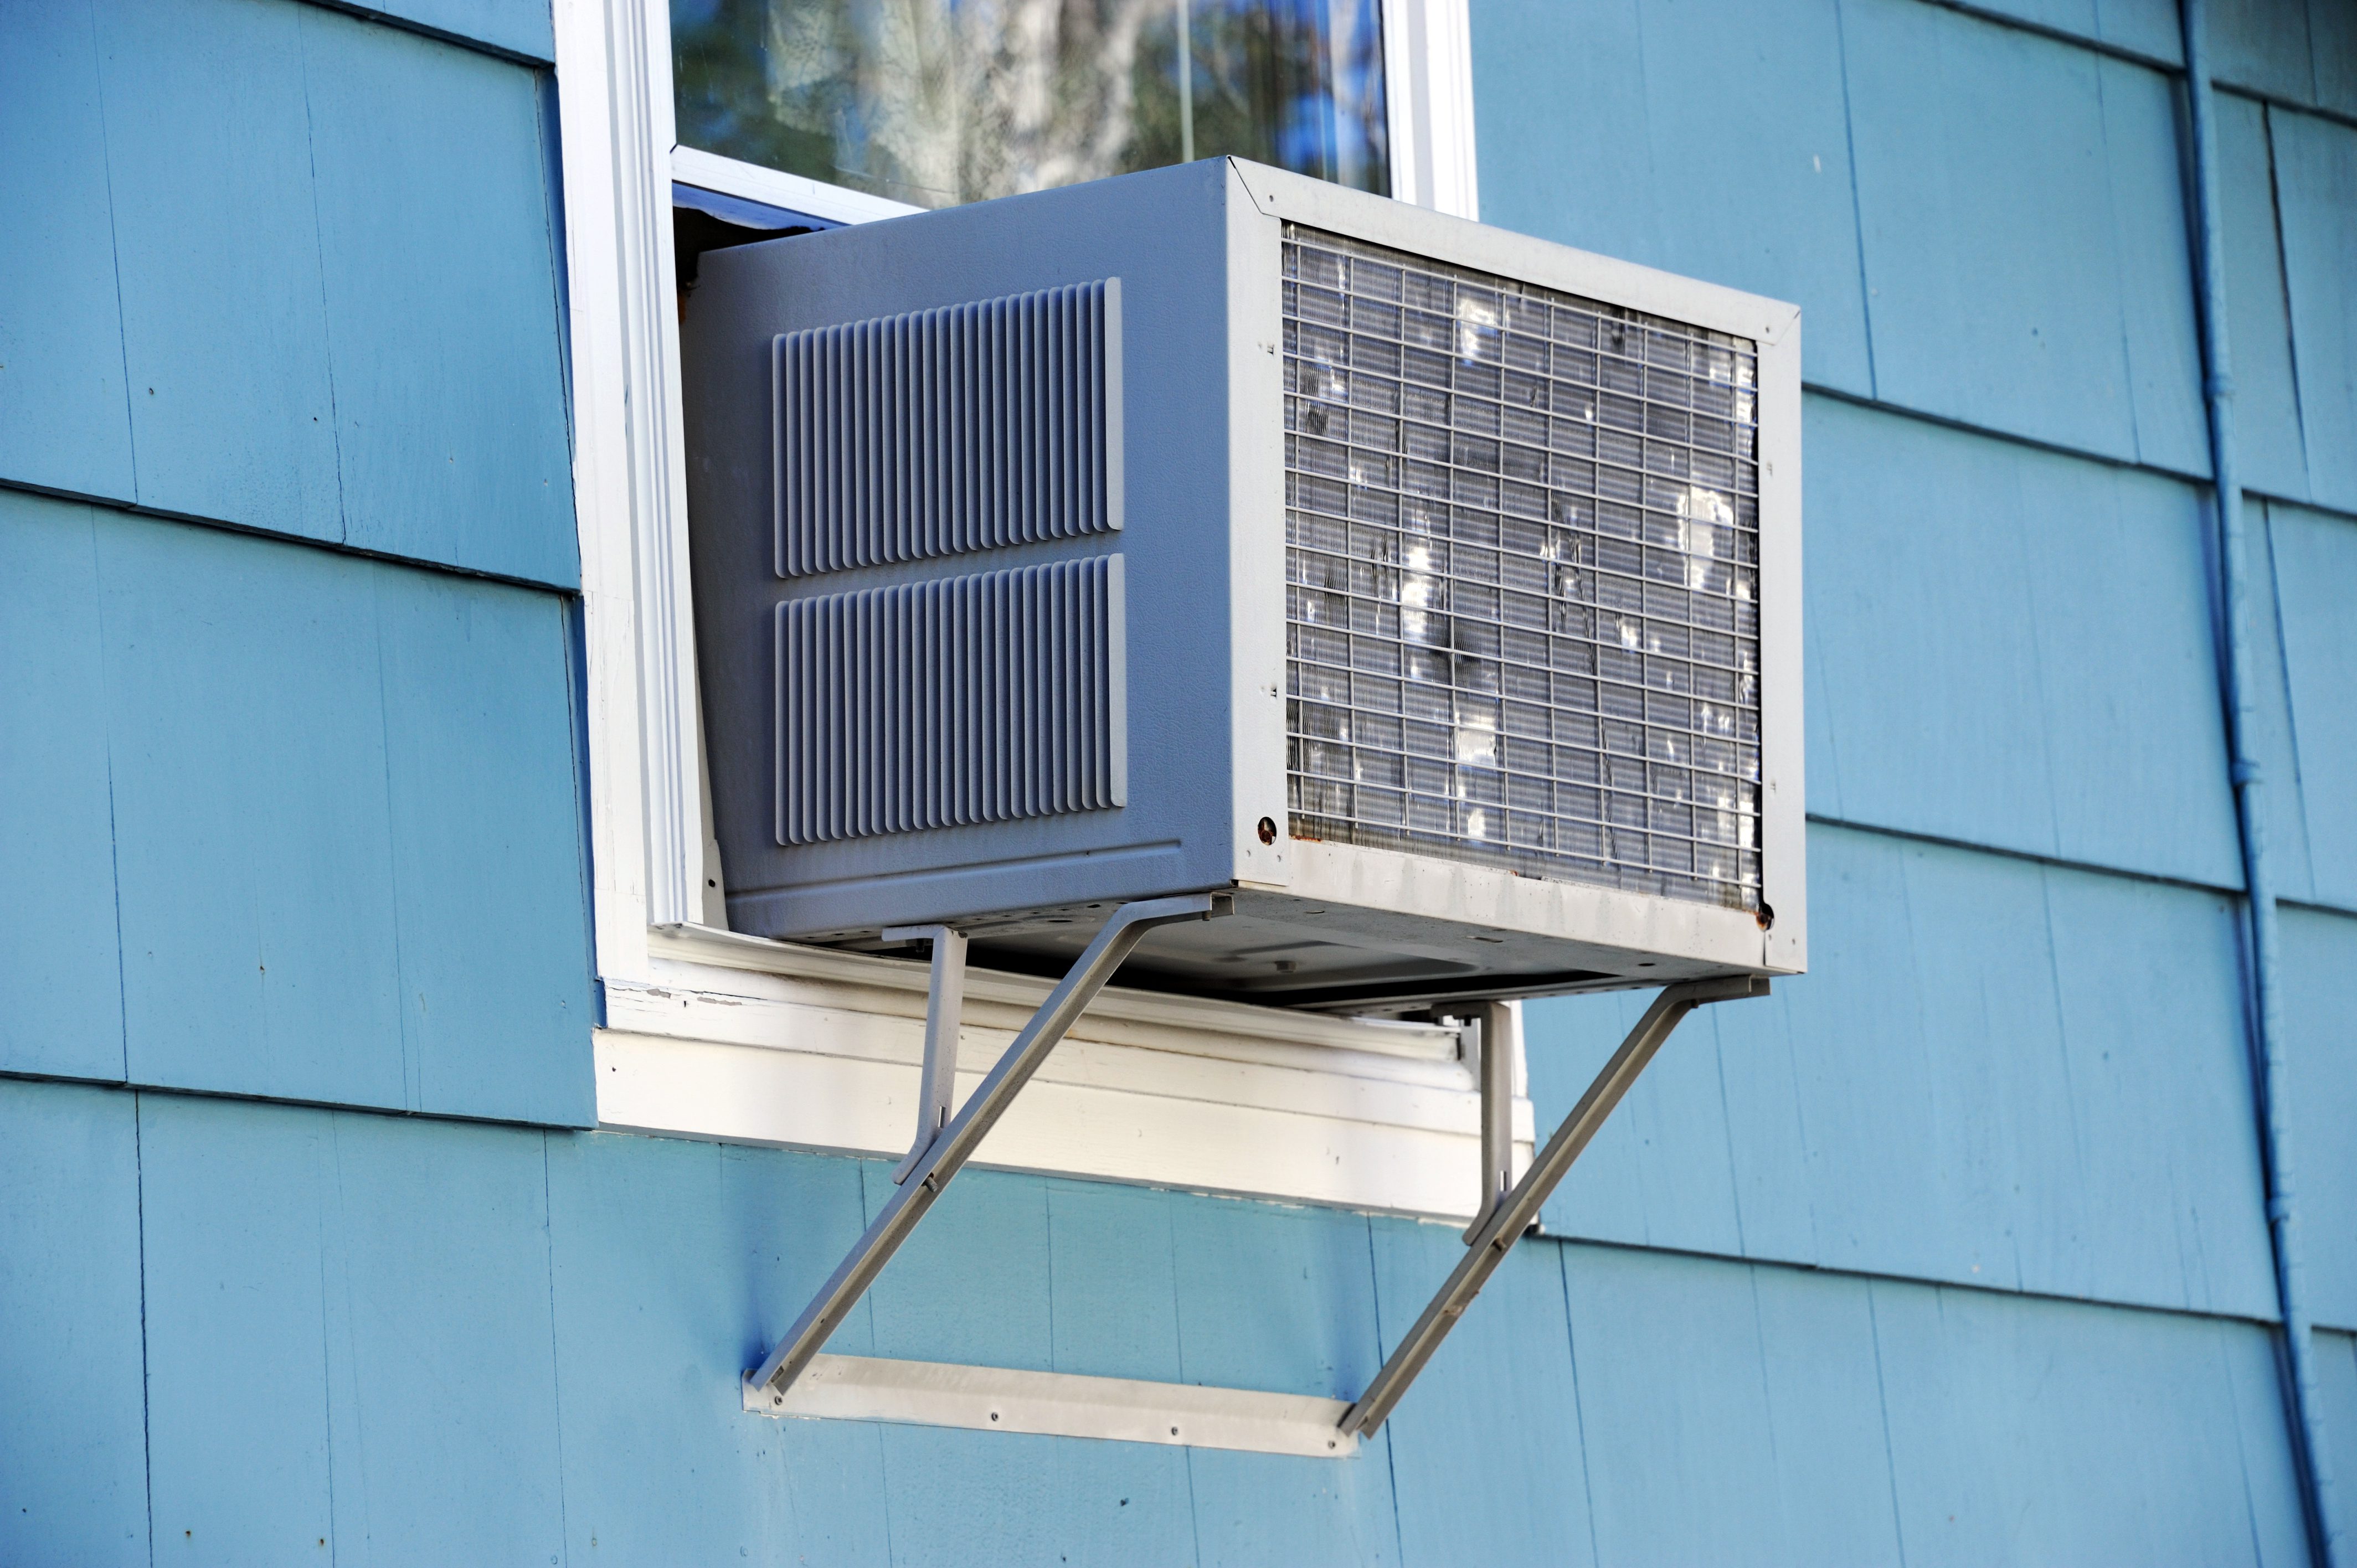
Step 2: Install a Support Bracket
You can use metal brackets, mounting rails, etc. that you can find at a local hardware store. This must have an independent source or fastening or attachment. Secure leveling objects to prevent movement and shifting due to vibrations from the AC unit, wind and other weather conditions. Do not use loose objects – such as wood blocking, bricks, telephone books, etc. to support the leveling of the AC unit.
Step 3: Safely Set the AC in Your Window
Lift the unit with your legs by coming into a squat when positioning the air conditioner into your window. The air conditioner should rest on the windowsill at a slight downward angle. This will help to drain the condensation as the air conditioner removes moisture from the air. Place the bottom of the AC onto the rail of your window and close the window behind the top rail of your AC, and extend the side panels.
Step 4: Secure the Unit
This is where the power drill comes in. All AC units should come with small metal brackets or holes for screws that enable you to lock the AC into your window frame. With the side panels extended, attach the metal brackets to them on either side, drill pilot holes into the window frame, and fasten your screws tightly. Do the same for any plastic holes you can get along the side panels. At this point, your air conditioner should be securely installed.
Step 5: Apply Insulating Seal
Insert a foam seal between your two window panels to make sure your cool air doesn’t escape. Place on top of the unit and lower window to compress seal for best insulation. The seal creates a weather-tight seal to keep out the summer humidity. You can get one for less than $15 and they often come with the packaging.
Check on the position of the AC and the condition of the window frame to make sure that the AC remains supported and secure.
Lastly, if you’re concerned about energy costs increasing over the summer months, try using an online energy calculator to gauge the cost based on the output of an individual unit.
For any questions, please contact us.